# 安装
为你正在使用的深度学习框架安装 🤗 Transformers、设置缓存、并选择性配置 🤗 Transformers 以离线运行。
🤗 Transformers 已在Python 3.6+、PyTorch 1.1.0+、TensorFlow 2.0+以及Flax上进行测试。针对你使用的深度学习框架,请参照以下安装说明进行安装:
* [PyTorch](https://pytorch.org/get-started/locally/)安装说明。
* [TensorFlow 2.0](https://www.tensorflow.org/install/pip)安装说明。
* [Flax](https://flax.readthedocs.io/en/latest/)安装说明。
## 使用pip安装
你应该使用[虚拟环境](https://docs.python.org/3/library/venv.html)安装 🤗 Transformers。如果你不熟悉Python虚拟环境,请查看此[教程](https://packaging.python.org/guides/installing-using-pip-and-virtual-environments/)。使用虚拟环境,你可以轻松管理不同项目,避免不同依赖项之间的兼容性问题。
首先,在项目目录中创建虚拟环境:
```bash
python -m venv .env
```
在Linux和MacOs系统中激活虚拟环境:
```bash
source .env/bin/activate
```
在Windows系统中激活虚拟环境:
```bash
.env/Scripts/activate
```
现在你可以使用以下命令安装 🤗 Transformers:
```bash
pip install transformers
```
若仅需CPU支持,可以使用单行命令方便地安装 🤗 Transformers 和深度学习库。例如,使用以下命令安装 🤗 Transformers 和PyTorch:
```bash
pip install 'transformers[torch]'
```
🤗 Transformers 和TensorFlow 2.0:
```bash
pip install 'transformers[tf-cpu]'
```
M1 / ARM用户
在安装TensorFLow 2.0前,你们需要安装以下库
```
brew install cmake
brew install pkg-config
```
🤗 Transformers 和Flax:
```bash
pip install 'transformers[flax]'
```
最后,运行以下命令以检查 🤗 Transformers 是否已被正确安装。该命令将下载一个预训练模型:
```bash
python -c "from transformers import pipeline; print(pipeline('sentiment-analysis')('we love you'))"
```
然后打印标签以及分数:
```bash
[{'label': 'POSITIVE', 'score': 0.9998704791069031}]
```
## 源码安装
使用以下命令从源码安装 🤗 Transformers:
```bash
pip install git+https://github.com/huggingface/transformers
```
此命令下载的是最新的前沿`main`版本而不是最新的`stable`版本。`main`版本适用于跟最新开发保持一致。例如,上次正式版发布带来的bug被修复了,但新版本尚未被推出。但是,这也说明`main`版本并不一定总是稳定的。我们努力保持`main`版本的可操作性,大多数问题通常在几个小时或一天以内就能被解决。如果你遇到问题,请提个[Issue](https://github.com/huggingface/transformers/issues)以便我们能更快修复。
运行以下命令以检查 🤗 Transformers 是否已被正确安装:
```bash
python -c "from transformers import pipeline; print(pipeline('sentiment-analysis')('I love you'))"
```
## 可编辑安装
如果你有下列需求,需要进行可编辑安装:
* 使用源码的`main`版本。
* 为 🤗 Transformers 贡献代码,需要测试代码中的更改。
使用以下命令克隆仓库并安装 🤗 Transformers:
```bash
git clone https://github.com/huggingface/transformers.git
cd transformers
pip install -e .
```
这些命令将会链接你克隆的仓库以及你的Python库路径。现在,Python不仅会在正常的库路径中,也会在你克隆到的文件夹中进行查找。例如,如果你的Python包通常本安装在`~/anaconda3/envs/main/lib/python3.7/site-packages/`目录下,Python也会搜索你克隆到的文件夹:`~/transformers/`。
如果你想继续使用这个库,必须保留`transformers`文件夹。
现在,你可以使用以下命令,将你克隆的 🤗 Transformers 库轻松更新至最新版本:
```bash
cd ~/transformers/
git pull
```
你的Python环境将在下次运行时找到`main`版本的 🤗 Transformers。
## 使用conda安装
从conda`huggingface`频道安装:
```bash
conda install -c huggingface transformers
```
## 缓存设置
预训练模型会被下载并本地缓存到:`~/.cache/huggingface/hub`。这是由shell环境变量`TRANSFORMERS_CACHE`指定的默认目录。在Windows上,默认目录为`C:\Users\username\.cache\huggingface\hub`。你可按照以下优先级改变下面显示的shell环境变量,以指定不同的缓存目录。
1. Shell环境变量(默认): `HUGGINGFACE_HUB_CACHE`或`TRANSFORMERS_CACHE`。
2. Shell环境变量:`HF_HOME`。
3. Shell环境变量: `XDG_CACHE_HOME` + `/huggingface`。
🤗 Transformers 将会使用shell环境变量`PYTORCH_TRANSFORMERS_CACHE`或`PYTORCH_PRETRAINED_BERT_CACHE`如果你来自此库的较早版本并且已经设置了这些环境变量,除非你明确指定了shell环境变量`TRANSFORMERS_CACHE`.
## 离线模式
🤗 Transformers 可以仅使用本地文件在防火墙或离线环境中运行。设置环境变量`TRANSFORMERS_OFFLINE=1`以启用该行为。
通过设置环境变量`HF_DATASETS_OFFLINE=1`将[🤗 Datasets](https://huggingface.co/docs/datasets/)添加至你的离线训练工作流程中。
例如,你通常会使用以下命令对外部实例进行防火墙保护的的普通网络上运行程序:
```bash
python examples/pytorch/translation/run_translation.py --model_name_or_path t5-small --dataset_name wmt16 --dataset_config ro-en ...
```
在离线环境中运行相同的程序:
```bash
HF_DATASETS_OFFLINE=1 TRANSFORMERS_OFFLINE=1 \
python examples/pytorch/translation/run_translation.py --model_name_or_path t5-small --dataset_name wmt16 --dataset_config ro-en ...
```
现在脚本可以应该正常运行,而无需挂起或等待超时,因为它知道只应查找本地文件。
### 获取离线时使用的模型和分词器
另一种离线时使用 🤗 Transformers 的方法是预先下载好文件,然后在需要离线使用时指向它们的离线路径。有三种实现的方法:
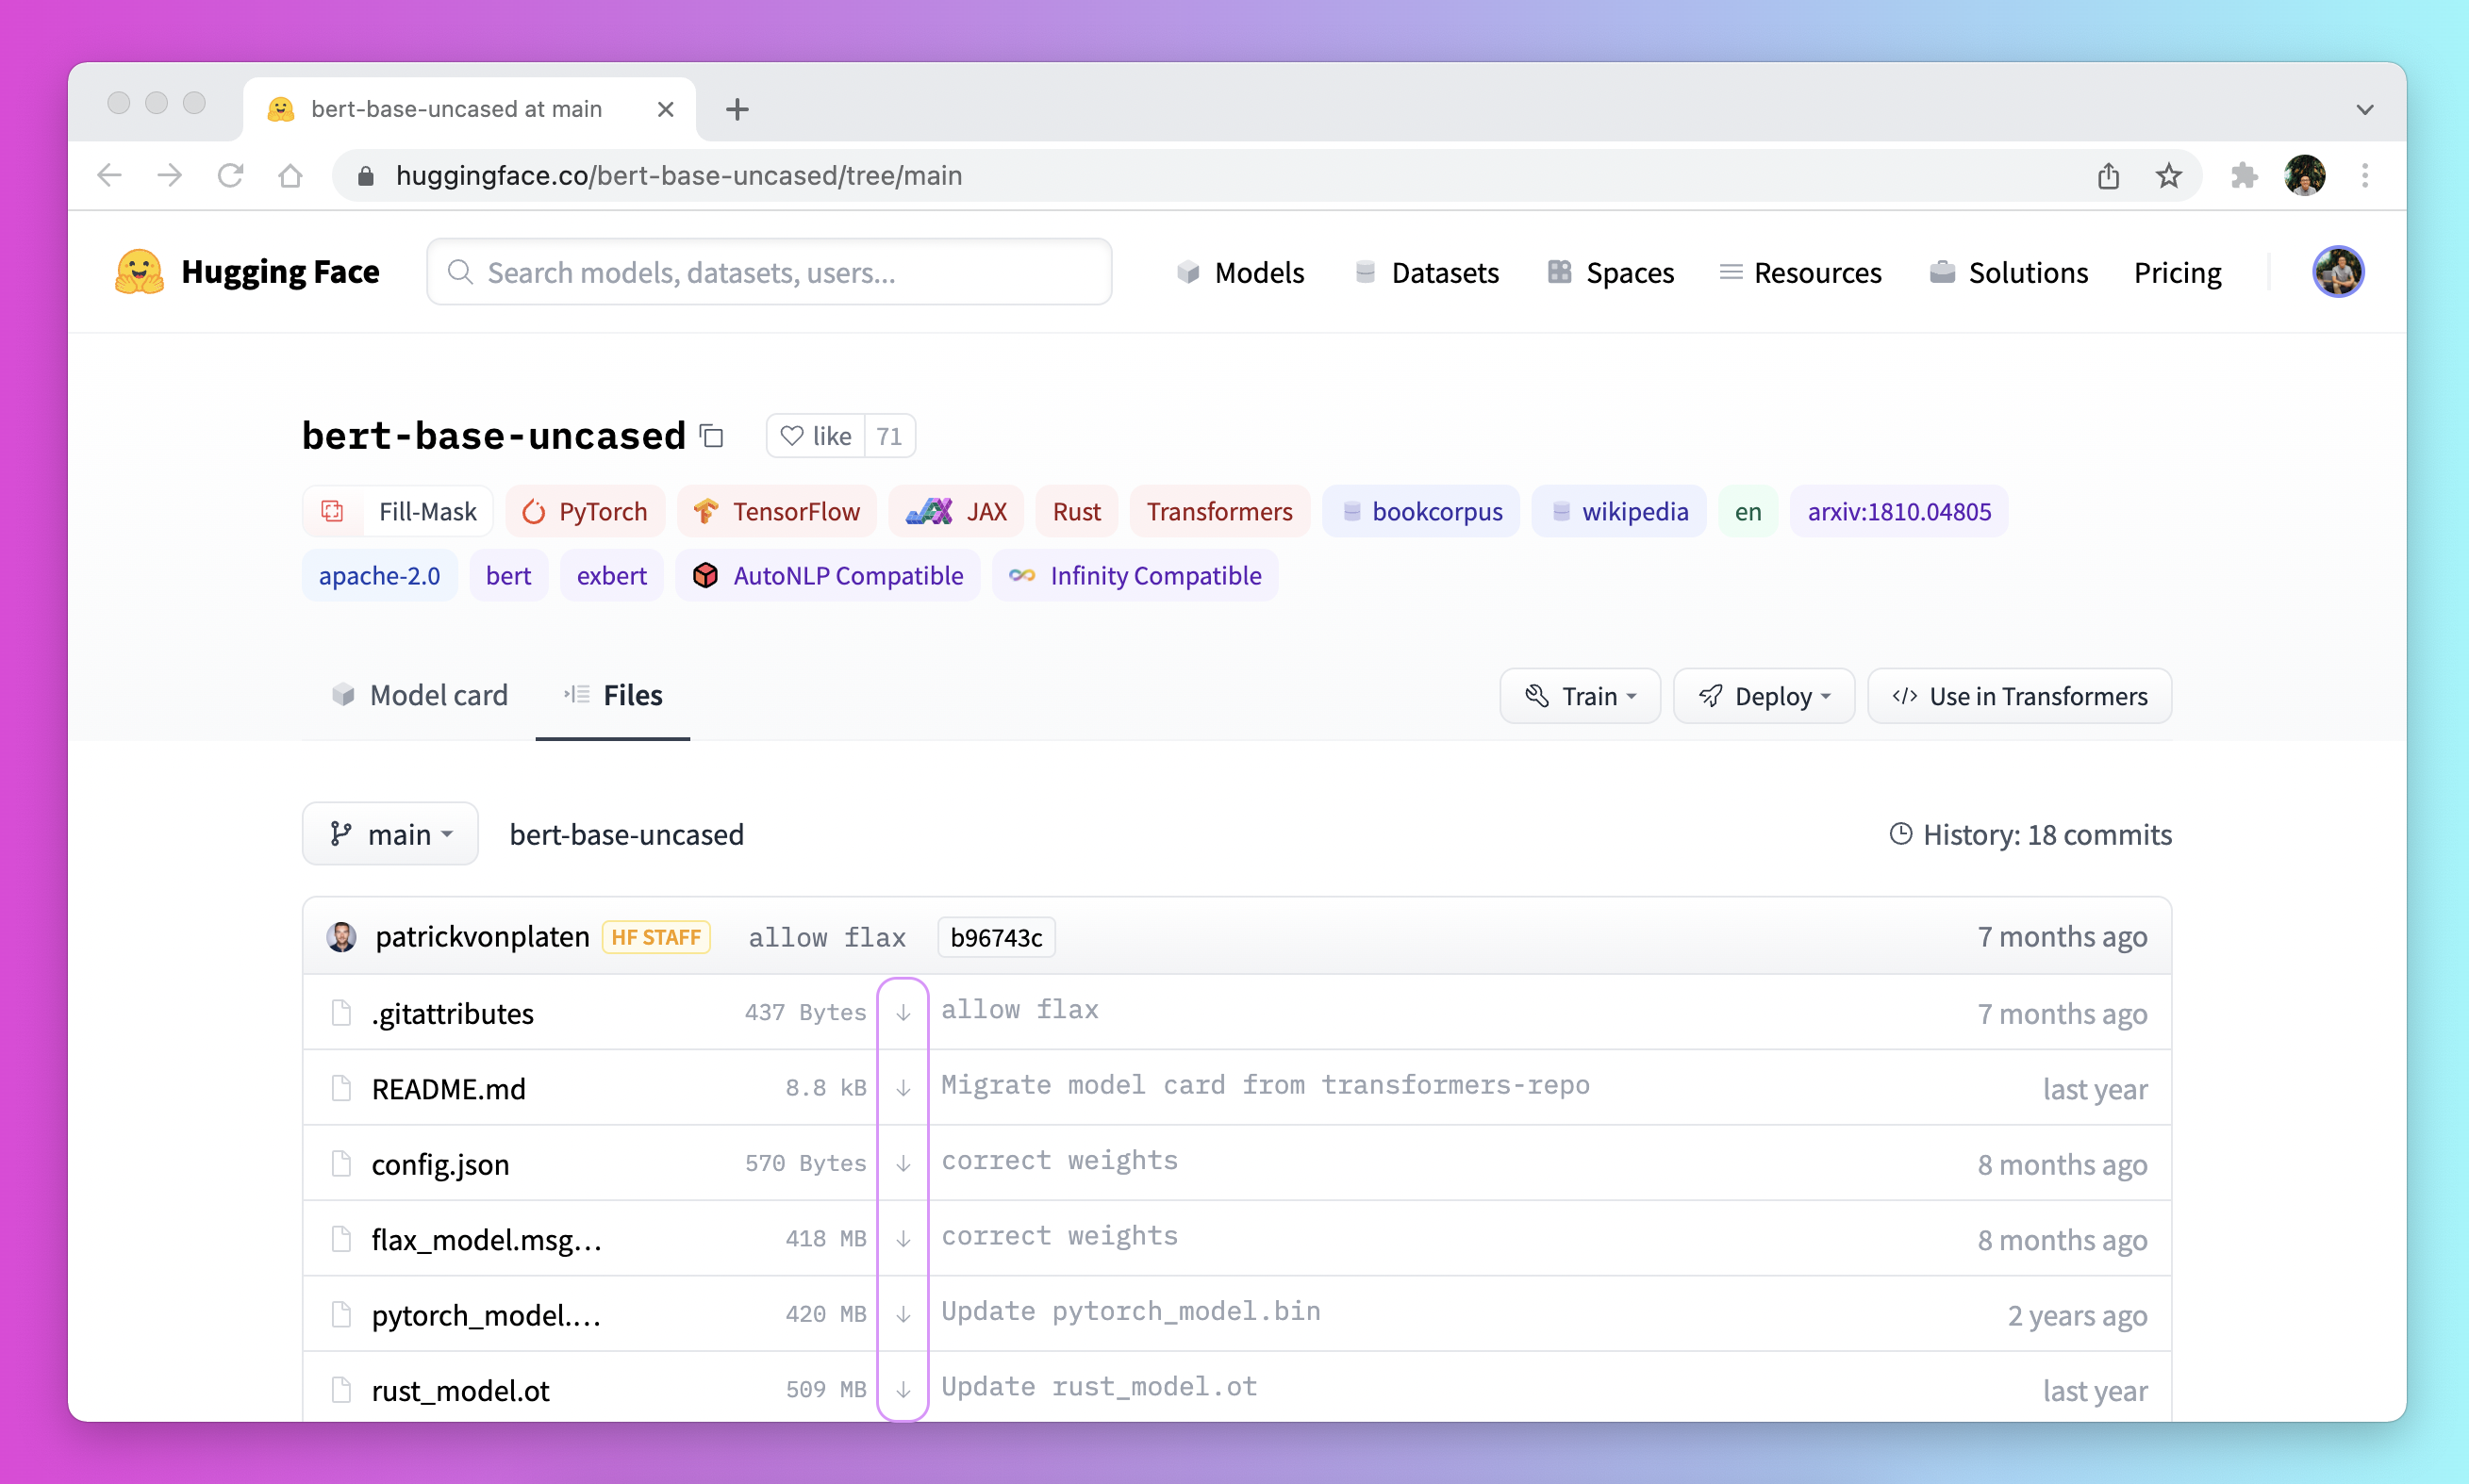
* 单击[Model Hub](https://huggingface.co/models)用户界面上的 ↓ 图标下载文件。

* 使用[`PreTrainedModel.from_pretrained`]和[`PreTrainedModel.save_pretrained`]工作流程:
1. 预先使用[`PreTrainedModel.from_pretrained`]下载文件:
```py
>>> from transformers import AutoTokenizer, AutoModelForSeq2SeqLM
>>> tokenizer = AutoTokenizer.from_pretrained("bigscience/T0_3B")
>>> model = AutoModelForSeq2SeqLM.from_pretrained("bigscience/T0_3B")
```
2. 使用[`PreTrainedModel.save_pretrained`]将文件保存至指定目录:
```py
>>> tokenizer.save_pretrained("./your/path/bigscience_t0")
>>> model.save_pretrained("./your/path/bigscience_t0")
```
3. 现在,你可以在离线时从指定目录使用[`PreTrainedModel.from_pretrained`]重新加载你的文件:
```py
>>> tokenizer = AutoTokenizer.from_pretrained("./your/path/bigscience_t0")
>>> model = AutoModel.from_pretrained("./your/path/bigscience_t0")
```
* 使用代码用[huggingface_hub](https://github.com/huggingface/huggingface_hub/tree/main/src/huggingface_hub)库下载文件:
1. 在你的虚拟环境中安装`huggingface_hub`库:
```bash
python -m pip install huggingface_hub
```
2. 使用[`hf_hub_download`](https://huggingface.co/docs/hub/adding-a-library#download-files-from-the-hub)函数将文件下载到指定路径。例如,以下命令将`config.json`文件从[T0](https://huggingface.co/bigscience/T0_3B)模型下载至你想要的路径:
```py
>>> from huggingface_hub import hf_hub_download
>>> hf_hub_download(repo_id="bigscience/T0_3B", filename="config.json", cache_dir="./your/path/bigscience_t0")
```
下载完文件并在本地缓存后,指定其本地路径以加载和使用该模型:
```py
>>> from transformers import AutoConfig
>>> config = AutoConfig.from_pretrained("./your/path/bigscience_t0/config.json")
```
请参阅[如何从Hub下载文件](https://huggingface.co/docs/hub/how-to-downstream)部分,获取有关下载存储在Hub上文件的更多详细信息。